Corn on the cob is supposed to be easy, right? Like the most straightforward summer side dish that exists. Just boil some water, throw in the corn, wait a bit, done. That’s what I did for YEARS, literally my entire adult life until last July when my stove decided to die in the middle of a family BBQ because the universe has a sense of humor.
What You Actually Need (Shockingly Simple)
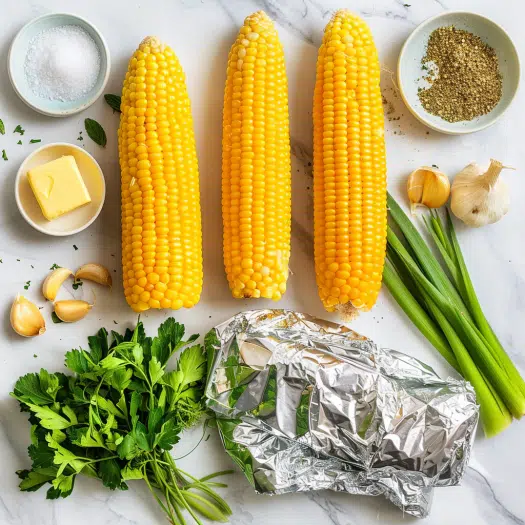
The Basics:
- 6-8 ears of fresh corn, more if you’re feeding teenage boys who eat like they’re preparing for hibernation
- 4 tablespoons butter, softened (not melted, there’s a difference and it matters)
- Salt and pepper
- Aluminum foil (the heavy-duty kind if you have it)
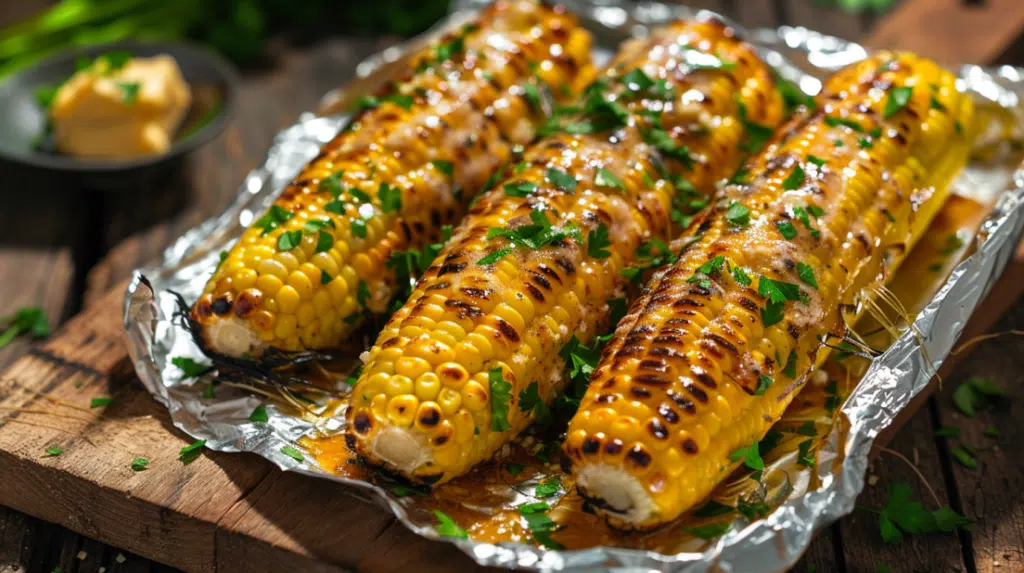
Classic Garlic Butter (Always a Winner):
- 4 tablespoons softened butter
- 1/2 teaspoon garlic powder (or fresh minced garlic if you’re feeling ambitious)
- 1/4 teaspoon salt
- Chopped fresh parsley, optional but makes it look like you tried
Ways to Get Creative:
- Grated Parmesan cheese
- Chili powder, paprika, cayenne, whatever spice level your family can handle
- Lime juice and cilantro for that Mexican street corn vibe
- Old Bay seasoning (weird but incredible)
- Everything bagel seasoning, yes I’m serious, no I won’t apologize for it
How to Make Corn on The Cob Without Messing It Up
The Setup Part
Crank your oven to 425°F and I mean actually 425, not “eh, 400 is probably close enough.” The high temperature is crucial for getting that slight char and caramelization. Lower temps just steam the corn which is basically boiling but with extra steps.
Shuck all your corn completely. Every piece of silk needs to GO because there’s always that one strand that survives and ends up in someone’s teeth during dinner and becomes the only thing anyone can think about (been there, ruined family photos).
Rinse under cold water, pat dry. Get out your aluminum foil and cut pieces for each ear, probably 12 inches long? Maybe more? I always cut them too short the first three times and have to start over so just… go bigger than you think you need.
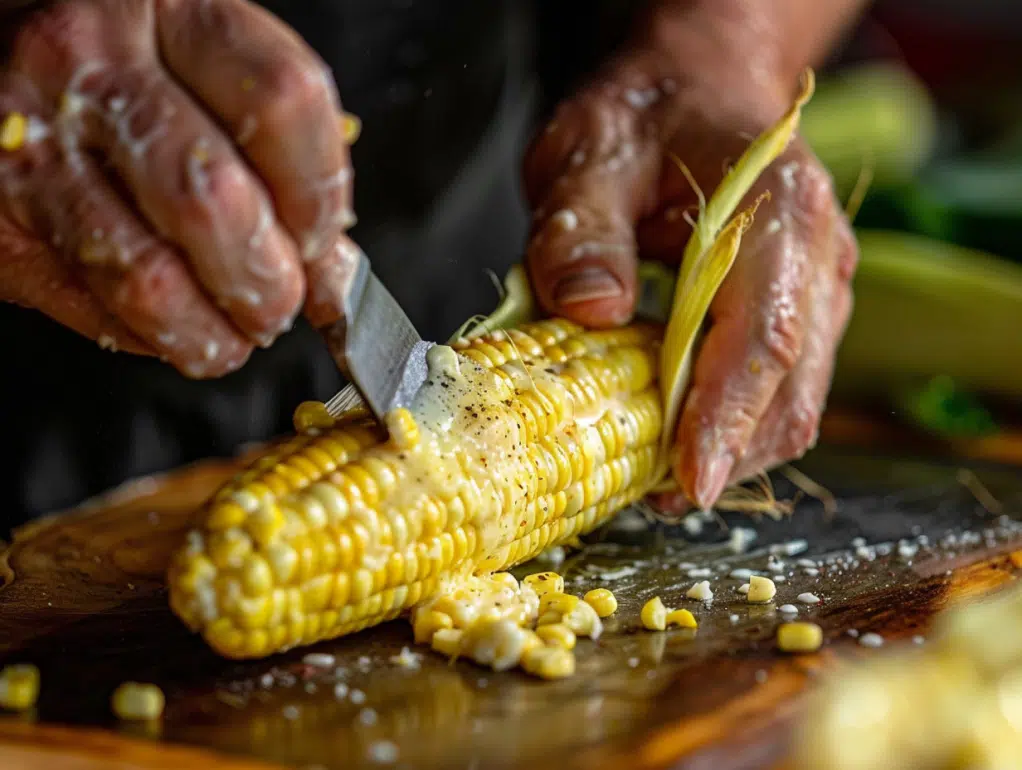
The Butter Situation (This Is Where Flavor Lives)
Your butter needs to be soft, like you can easily smoosh it with a fork but it’s not liquid. If it’s melted it’ll just slide right off the corn instead of coating it properly, and then you’ve basically wasted butter which is tragic.
Mix in whatever seasonings you want. For basic garlic butter which honestly never disappoints, just mash together softened butter, garlic powder, a bit of salt, maybe some parsley if you have it lying around.
Now spread that butter ALL OVER each ear of corn. Don’t be stingy. This isn’t the time for portion control. The butter is doing multiple jobs here, flavor obviously, but also moisture retention and helping with caramelization. So really coat it. Like you’re giving the corn a butter massage or something (that metaphor got away from me but you get the idea).
Wrapping Them Up
Place each buttered ear on its piece of foil. Roll it up tight, not so tight you’re crushing the kernels but snug enough that steam can’t escape. Twist the ends to seal everything in.
Some people get really precious about this wrapping process but honestly as long as it’s sealed you’re fine. It doesn’t need to look pretty, it needs to work.
Put all your foil-wrapped corn directly on the oven rack. You CAN use a baking sheet but I don’t bother, they don’t need it and you can fit way more without one.
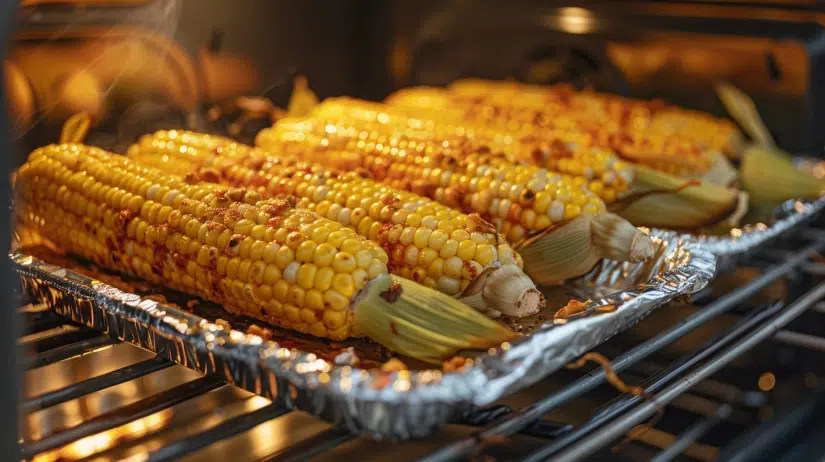
The Waiting Game
Roast for 25-30 minutes. I know some recipes say 20 minutes but that’s when they’re just barely done, not bad but not transcendent either. Going the full 30 minutes gets you that perfect tender-with-slight-caramelization thing that makes this method superior.
Set a timer. I cannot stress this enough. Do not think “oh I’ll remember in 30 minutes” because you won’t and you’ll end up with either undercooked or burned corn depending on whether you remember early or late (both have happened, I contain multitudes).
The Grand Unveiling
Pull them out with tongs, those foil packets are SCREAMING hot and will absolutely destroy your fingers if you try to grab them bare-handed. I’ve learned this lesson more times than I’m comfortable admitting.
Let them sit for a minute or two before unwrapping because the steam inside is also really hot and will burn your face if you’re too enthusiastic about opening them (also learned from experience, noticing a pattern here?).
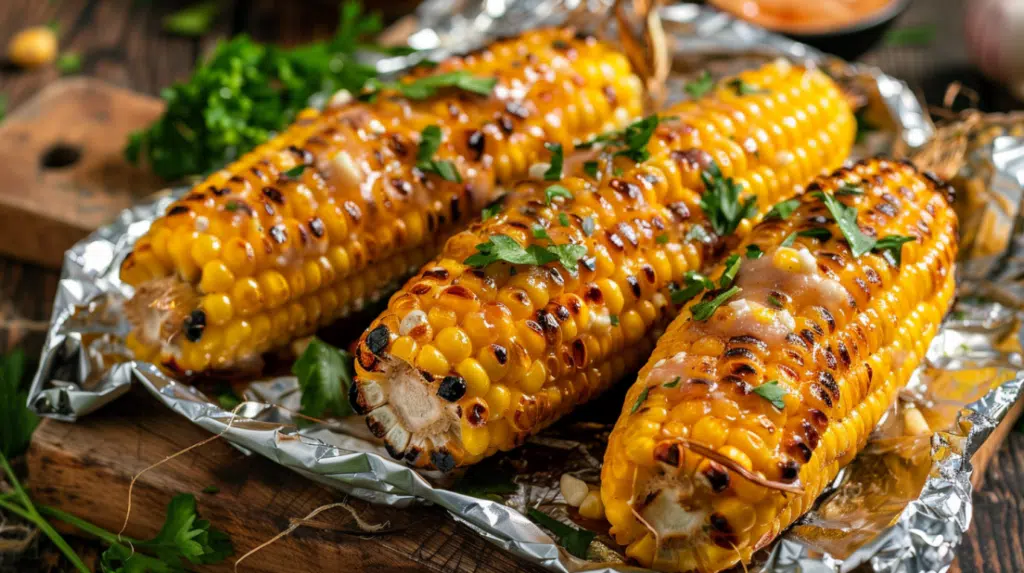
When you DO open that foil… okay the smell alone is worth making these. It’s like concentrated summer. Sweet corn steam mixed with garlic butter and that slight toasted aroma from the caramelization. If happiness had a smell it would be this.
You can serve them right in the foil for easy cleanup or transfer to a platter if you’re trying to impress people.
Different Flavor Directions (Because Options Are Good)
Mexican Street Corn (Elote) Style: After roasting, brush with mayo (I know, just trust me), pile on cotija cheese or Parmesan if you can’t find cotija, sprinkle chili powder, squeeze lime all over. My daughter Maya literally requests this specific version for her birthday dinner every year.
Italian Herb Thing: Mix butter with Italian seasoning and garlic powder, then after roasting hit it with grated Parmesan. Tastes way fancier than the minimal effort required. Great for when your in-laws are coming over and you need to look competent.
Cajun Spicy: Just mix Cajun seasoning or Old Bay into your butter before roasting. Simple but it HITS. My husband Mark won’t eat it any other way now which is fine but also slightly annoying when I want to try new versions.
Sweet-Savory Combo: Tiny bit of honey in the butter plus smoked paprika. Sounds weird on paper, tastes incredible in reality. One of those happy accidents that became a regular rotation.
Everything Bagel (Controversial but Correct): Regular butter for roasting, then sprinkle everything bagel seasoning after. I KNOW it sounds bizarre. Everyone thinks I’m crazy until they try it and then they get quiet and eat three ears. That’s how good it is.
You can find more trending recipes and protein recipes, and if this brought warmth to your kitchen, share it with someone you love. and make sure you Follow us on Pinterest