This Onigiri Recipe comes together in about 30 minutes and it’s all done in one pot! Perfect for a quick weeknight dinner that your family will love! You can easily switch up the fillings to suit your taste or use it as a way to clean out the fridge, getting rid of leftovers and odds and ends. Trust me; these little rice balls are not just tasty but also tons of fun to make!
Ingredient Breakdown
What You’ll Need to Make Onigiri
To whip up these delightful rice balls, gather the following ingredients. Onigiri is pretty versatile, so feel free to mix and match!
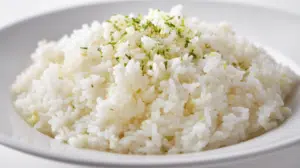
Short-Grain Rice (preferably sushi rice):
- 4 cups, this is the star of the show. The stickiness is what helps shape the onigiri.
- Tip: If you can’t find sushi rice, any short-grain rice will work, but you might need to adjust your water-to-rice ratio!
Water:
- 4 ½ cups for cooking the rice. The right ratio helps achieve that perfect sticky texture.
Salt:
- 1 teaspoon for seasoning the rice. A couple of pinches goes a long way in bringing out the flavors.
Rice Vinegar:
- 2 tablespoons, this adds a lovely zesty flavor to the rice.
Fillings (choose any combination):
- Pickled Plum (Umeboshi): A classic option that’s both tart and savory.
- Tuna Salad: Mix canned tuna with mayo and a dash of soy sauce, kid-approved!
- Grilled Chicken: Shredded and seasoned, it makes for a hearty filling.
- Avocado and Cream Cheese: For a fresh twist! This mix is, hands down, my go-to for non-traditional onigiri.
- Seaweed Sheets: Nori strips for wrapping or adding flavor.
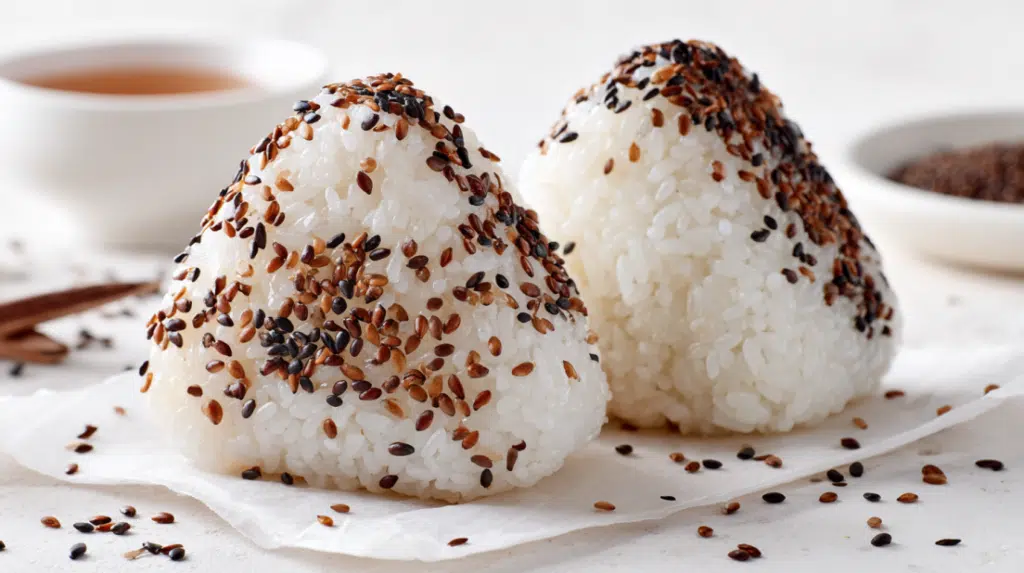
Optional Toppings:
- Sesame Seeds or Furikake: Sprinkle some over the finished rice balls to give them that extra pop of flavor!
When it comes to onigiri, the best part is the versatility. You can even use whatever you have on hand, so if you have leftover veggies or meats, toss them in!
Let’s Get Cooking!
Step-by-Step Instructions
Prepare the Rice (10 minutes)
- Rinse the 4 cups of sushi rice thoroughly under cold water until the water runs clear, this removes excess starch. You want that rice to be beautifully fluffy, not gummy.
- Drain it well and let it sit for about 30 minutes it’s like giving your rice a mini spa day!
Cook the Rice (20 minutes)
- In a large pot, combine the rinsed rice and 4 ½ cups of water. Bring it to a boil over medium-high heat.
- Once it’s boiling, reduce the heat to low, cover the pot, and let it simmer for 15-20 minutes. You’ll know it’s done when you see little holes form in the rice and it smells heavenly!
Season the Rice (5 minutes)
- Once the rice is cooked, remove it from heat and let it sit covered for another 10 minutes. This lets it finish steaming.
- In a small bowl, mix the 1 teaspoon of salt with 2 tablespoons of rice vinegar.
- After the rice has cooled slightly, fluff it with a fork and gently mix in the vinegar mixture. You want to coat the rice evenly, giving it that mild, zesty flavor that enhances the onigiri!
Shape the Onigiri (10 minutes)
- Wet your hands with water and sprinkle a touch of salt on your palms, this keeps the rice from sticking and adds a nice flavor.
- Take about ½ cup of rice and mold it into a triangular shape in your hands, or a round ball if you prefer.
- If you’re adding a filling, create a small indentation in the center and fill it with your choice of goodness, then seal it back up.
Wrap It Up! (Optional, 5 minutes)
- If you like, wrap a strip of nori around the onigiri. This not only adds flavor but makes for easier handling too!
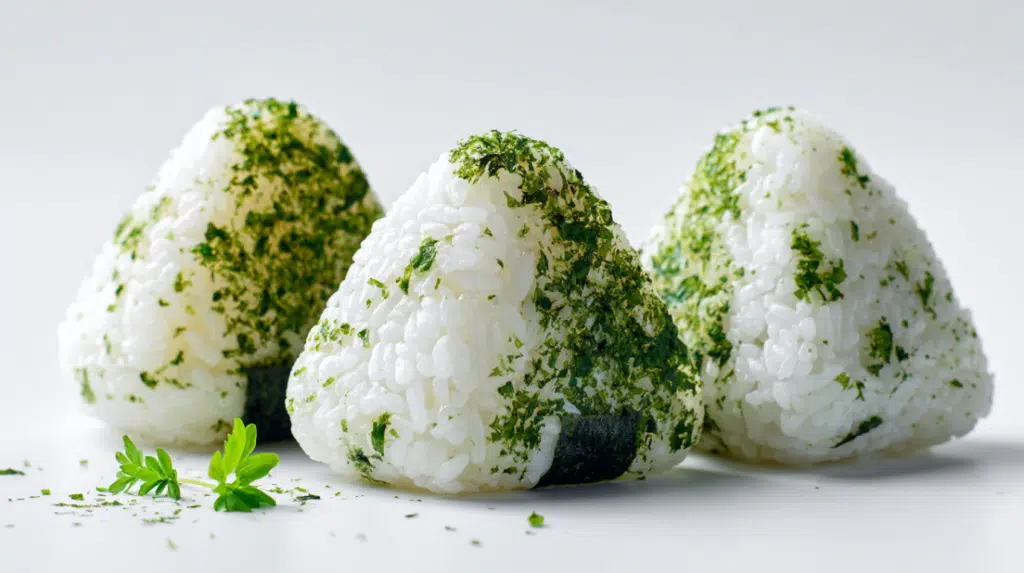
And voilà! You’ve got your beautiful onigiri ready to serve!
Why I Love This Recipe
This is my absolute go-to recipe when I want to make something comforting and satisfying without too much fuss. Onigiri is such a delightful dish, it feels like a warm hug on a plate, right? I’m a real sucker for recipes that allow creativity, and I can throw in whatever I have lying around, making it an irresistible option for busy weeknights.
And the best part is, everyone in my family loves them, even my picky 8-year-old, who didn’t even flinch at the seaweed!
Serving Suggestions
This onigiri is perfect as a stand-alone meal, but it also shines when paired with other delightful sides:
- Soy Sauce for dipping.
- Miso Soup to warm the soul.
- Pickled Vegetables for a refreshing contrast.
- Salad or a side of edamame for a wholesome touch.
How to Store and Reheat
- Storage: You can keep leftover onigiri in an airtight container in the fridge for up to 3 days.
- Reheating: Microwave for about 15-20 seconds to regain that soft texture. Honestly, they’re best eaten fresh, but they still taste great after a day or two!
- Freezer Friendly: Yes! You can freeze the onigiri for up to a month. Just be sure to wrap them in plastic wrap and then place them in a freezer-safe bag. Thaw overnight in the fridge and reheat.
Why This Recipe Works
Quick & Easy
- This onigiri recipe comes together in merely 30 minutes! Perfect for those busy weeknights when you want something hearty without spending hours in the kitchen.
Customizable
- The fillings are totally flexible! I love that you can use whatever ingredients you have, from leftover meats to odds and ends in the fridge. Seriously, anything will work!
Comfort Food
- These rice balls are loaded with tons of flavor and spark joy in the simplest way. There’s something therapeutic about shaping them, it’s a fun family activity that brings everyone together!
Kid-Approved
- You bet! Kids love to watch and help shape their own onigiri! The fun shapes and flavors make it a hit every time.
If you loved this easy onigiri recipe, be sure to check out my Gyoza (Asian Dumplings), my Crispy Japanese Okonomiyaki, or my Gordon Ramsay Onion Boil! They’re perfect companions to our delicious rice balls and equally lovely to whip up for the family.
The secret to delicious onigiri is not just in the technique but also in the love you put into it. So, get your family involved, make a mess, and enjoy every minute of the cooking process! Happy cooking, friends! For more Recipes Follow Us in our Pinterest.
Print
Onigiri
- Total Time: 60 minutes
- Yield: 4 servings 1x
- Diet: Vegetarian
Description
Delicious Japanese rice balls that are customizable and family-friendly, perfect for a quick weeknight dinner.
Ingredients
- 4 cups Short-Grain Rice (preferably sushi rice)
- 4 ½ cups Water
- 1 teaspoon Salt
- 2 tablespoons Rice Vinegar
- Fillings: Pickled Plum (Umeboshi), Tuna Salad, Grilled Chicken, Avocado and Cream Cheese, Seaweed Sheets
- Optional Toppings: Sesame Seeds or Furikake
Instructions
- Rinse the sushi rice thoroughly under cold water until the water runs clear and let it sit for about 30 minutes.
- In a large pot, combine the rinsed rice and water. Bring to a boil, reduce to low, cover, and simmer for 15-20 minutes.
- Remove from heat and let the rice sit covered for another 10 minutes. Mix the salt with rice vinegar and gently fold into the rice.
- Wet your hands, sprinkle with salt, and take about ½ cup of rice to mold into a triangular shape, adding your choice of filling if desired.
- Optionally, wrap a strip of nori around the onigiri before serving.
Notes
Feel free to mix and match fillings based on what you have available; this recipe is great for using up leftovers.
- Prep Time: 30 minutes
- Cook Time: 30 minutes
- Category: Main Course
- Method: Cooking
- Cuisine: Japanese
Nutrition
- Serving Size: 1 onigiri
- Calories: 250
- Sugar: 1g
- Sodium: 350mg
- Fat: 5g
- Saturated Fat: 1g
- Unsaturated Fat: 3g
- Trans Fat: 0g
- Carbohydrates: 45g
- Fiber: 2g
- Protein: 6g
- Cholesterol: 0mg