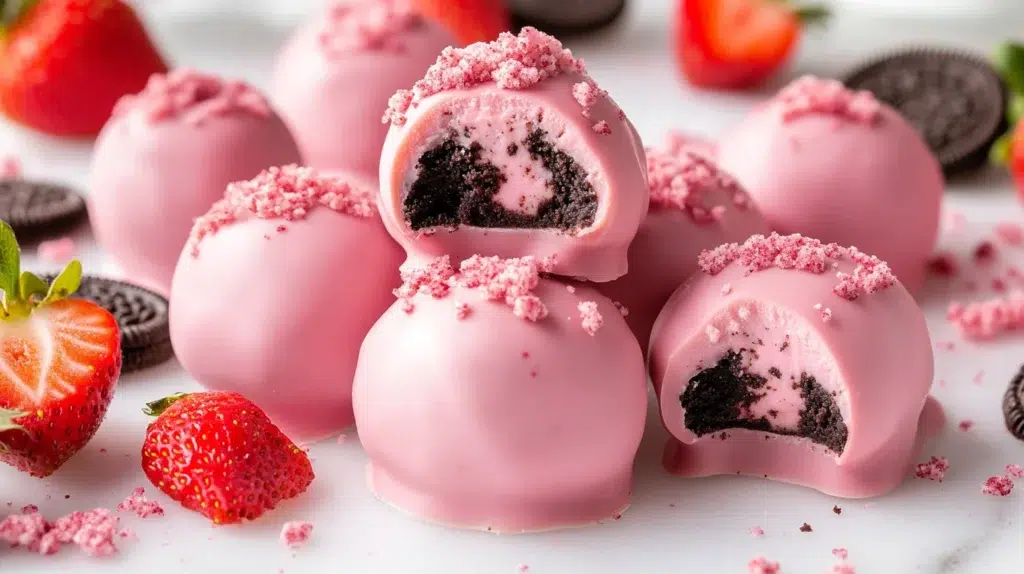
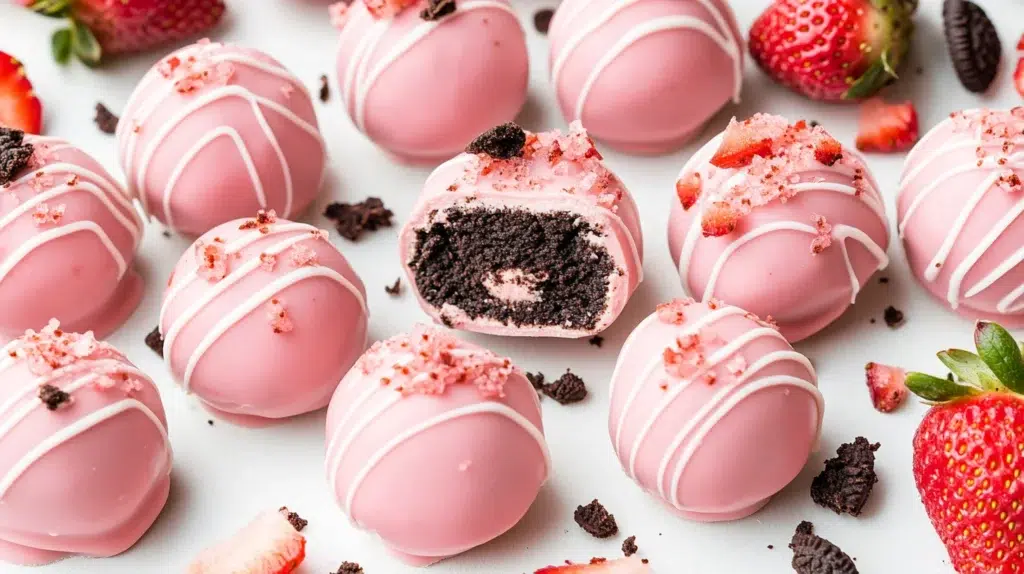
This Strawberry Cheesecake Oreo Truffles comes together in about 30 minutes and is a no-bake treat that your family will love! Honestly, these truffles are what dessert dreams are made of!
Ingredient Breakdown
Before we dive into making these truffles, let’s take a peek at what you’ll need:
- 30 Gluten-Free Golden Oreos
- 1 Cup Freeze-Dried Strawberries
- 3.5 Ounces Dairy-Free Cream Cheese
- 2 Cups Dairy-Free White Chocolate Chips
- Optional: A Couple Pinches of Salt
Let’s Get Cooking!
Ready to make these delectable truffles? Here’s how I do it step-by-step:
Crush the Cookies and Strawberries: Toss the Golden Oreos and freeze-dried strawberries into a food processor. Pulse them until you have a fine crumb mixture, this should take about 30 seconds to a minute. Set aside about 2 tablespoons of the crumb mixture for decorating later.
Mix in Cream Cheese: Cut your dairy-free cream cheese into smaller cubes and add it to the food processor. Pulse everything together until it becomes a large ball of yummy goodness. If your mixture seems too crumbly, no worries! Just add a spoonful of coconut milk and pulse again until it’s perfect!
Form the Truffles: Grab about 1 tablespoon of the mixture and roll it into small balls, honestly, this part is so fun! Place them on a lightly sprayed tray and pop them into the freezer for about 30 minutes to an hour.
Melt the Chocolate: While the truffles are chilling, melt your dairy-free white chocolate chips. You can do this in the microwave at 30-second intervals, stirring frequently, or use a double boiler for a more controlled melt.
Coat the Truffles: Once your truffles are chilled and the chocolate is smooth, it’s time to dip! Use a toothpick to spear each truffle, dip it into the melted chocolate, coat it fully and then place it back on the tray. Drizzle any leftover chocolate over the top and sprinkle with that reserved crumb mixture before the chocolate sets.
Let Them Set: Allow the truffles to set at room temperature or to speed things up, put them in the fridge. They’ll be good to go in about 15-20 minutes!
Store the Truffles: These delicious treats can be stored in an airtight container in the fridge for up to two weeks or frozen for up to three months, if they last that long!
If you loved this treat, be sure to check out my Betel Leaf Mousse, my Homemade gummies, or my Chewy Granola Bars!
Why This Recipe Works
Quick & Easy
These truffles come together in under 30 minutes, like seriously quick! Who doesn’t love a dessert that’s not only delicious but also fast to whip up?
No-Bake Delight
You don’t even have to turn on the oven! Just blend, mix, and melt your way to sweet bliss without any fuss. Perfect for busy weeknights and hot summer days!
Customizable
You can totally switch up the flavors here. Want to try a mint Oreo version? Or maybe add in some chopped nuts? Go for it! This recipe is as flexible as you want it to be!
Kid-Friendly
Trust me, your family will love this. They might even join you in the kitchen for the fun of rolling the truffles, cooking is always better together! Plus, what’s not to love about a dessert that looks as good as it tastes?
No Special Ingredients Required
You can find most of these ingredients at your regular grocery store. No need to hunt down that super obscure ingredient that you’ll only use once… been there, done that!
Serving and Storage Tips
How to Serve This
These truffles make a beautiful dessert for family dinners, potlucks, or just to satisfy your sweet tooth. Serve them in cute little paper cups for a touch of elegance!
Storage
Keep these truffles in an airtight container in the refrigerator. They’ll stay fresh for up to 14 days, if they last that long, though I doubt it!
Reheating Instructions
No need to reheat, but if they happen to be stored in the freezer, let them sit out for about 10 minutes before enjoying. They’re best enjoyed chilled!
Freezer Friendly
Yes! You can freeze them for up to 3 months. Just make sure they’re in an airtight container or freezer bag. When you’re ready to indulge, take them out, let them thaw in the fridge, and enjoy!
In Conclusion
Making Strawberry Cheesecake Oreo Truffles has never been more fun and fulfilling! With just a handful of ingredients and a bit of creativity, you can create a treat that brings joy to your table. So go ahead, make your family and friends (maybe even yourself, too!) a batch of these delightful truffles. I can’t wait to hear how yours turn out, share your truffles with me on social media! Happy cooking!
And remember, food is all about bringing us together, whether that’s around the kitchen counter or the dining table. Can’t wait for you to give this recipe a whirl, because I absolutely know you’re going to love it!
Happy cooking, friends! For more Recipes Follow Us in our Pinterest.
Print
Strawberry Cheesecake Oreo Truffles
- Total Time: 30 minutes
- Yield: 12 servings 1x
- Diet: Vegetarian
Description
A delightful no-bake treat made with gluten-free Oreos and freeze-dried strawberries, perfect for the family!
Ingredients
- 30 Gluten-Free Golden Oreos
- 1 Cup Freeze-Dried Strawberries
- 3.5 Ounces Dairy-Free Cream Cheese
- 2 Cups Dairy-Free White Chocolate Chips
- Optional: A couple pinches of Salt
Instructions
- Crush the cookies and strawberries: Toss the Golden Oreos and freeze-dried strawberries into a food processor. Pulse until you have a fine crumb mixture and set aside about 2 tablespoons for decorating.
- Mix in the cream cheese: Cut your dairy-free cream cheese into smaller cubes and add to the food processor. Pulse until it becomes a large ball. If too crumbly, add a spoonful of coconut milk.
- Form the truffles: Grab about 1 tablespoon of the mixture and roll it into balls, placing them on a lightly sprayed tray. Freeze for 30 minutes to 1 hour.
- Melt the chocolate: Melt your dairy-free white chocolate chips in the microwave or double boiler.
- Coat the truffles: Dip each chilled truffle in the melted chocolate and place back on the tray. Drizzle any leftover chocolate and sprinkle with reserved crumb mixture.
- Let them set: Allow the truffles to set at room temperature or refrigerate for 15-20 minutes.
- Store the truffles: Keep in an airtight container in the fridge for up to 14 days or freeze for 3 months.
Notes
These truffles are versatile – feel free to switch up flavors with different cookies or fruits!
- Prep Time: 30 minutes
- Cook Time: 0 minutes
- Category: Dessert
- Method: No-Bake
- Cuisine: American
Nutrition
- Serving Size: 1 truffle
- Calories: 150
- Sugar: 8g
- Sodium: 50mg
- Fat: 7g
- Saturated Fat: 3g
- Unsaturated Fat: 4g
- Trans Fat: 0g
- Carbohydrates: 20g
- Fiber: 1g
- Protein: 2g
- Cholesterol: 0mg